Style Your Markdown Posts With Tailwind CSS in Gridsome [2020 Guide]
 Photo by Alice Dietrich on Unsplash
This is part four of a series on building a file-based blog from scratch with Gridsome. Find the full series here.
In the last part, we added styling to our Gridsome blog with Tailwind CSS. But we were missing the styling on our blog posts written in Markdown.
Today we're going to add styling to our Markdown blog posts.
We will integrate postcss-nesting for easier syntax and then add our Markdown CSS.
How to Integrate PostCSS-Nesting With Gridsome
PostCSS-Nesting helps us to write nested CSS more concisely. Instead of this:
a, b {
  color: red;
}

a c, a d, b c, b d {
  color: white;
}
We can write this:
a, b {
  color: red;

  & c, & d {
    color: white;
  }
}
To use if, we must first install postcss-nesting:
yarn add -D postcss-nestingThen, import postcss-nesting into your gridsome.config.js and add it to your postcss plugins:
const tailwind = require('tailwindcss')
const autoprefixer = require('autoprefixer')
const purgecss = require('@fullhuman/postcss-purgecss')
const postcssNesting = require('postcss-nesting') // this line
const purgecssConfig = require('./purgecss.config')

const postcssPlugins = [
  tailwind(),
  autoprefixer(),
  postcssNesting() // and this line
]

if (process.env.NODE_ENV === "production") postcssPlugins.push(purgecss(purgecssConfig));

module.exports = {
  siteName: 'Gridsome',
  plugins: [
    {
      use: '@gridsome/source-filesystem',
      options: {
        typeName: 'BlogPost',
        path: './content/blog/**/*.md',
      }
    }
  ],
  templates: {
    BlogPost: '/blog/:slug'
  },
  css: {
      loaderOptions: {
          postcss: {
              plugins: postcssPlugins,
          },
      },
  },
}
How to add Styling to your Markdown in Gridsome
Now, let's create a file called markdown.css as src/css/markdown.css with the following content (inspired by this GitHub comment):
@tailwind utilities;

.markdown {
  @apply text-lg text-gray-800 leading-normal;
  & > * + *, & li > p + p {
    @apply mt-6;
  }
  & li + li {
    @apply mt-2;
  }
  & strong {
    @apply text-black font-bold;
  }
  & a {
    @apply text-black font-semibold;
  }
  & strong a {
    @apply font-bold;
  }
  & h1 {
    @apply leading-tight text-4xl font-semibold text-black mb-2 mt-10;
  }
  & h2 {
    @apply leading-tight text-2xl font-semibold text-black mb-2 mt-10;
  }
  & h3 {
    @apply leading-tight text-xl font-semibold text-black mt-8 -mb-2;
  }
  & code {
    @apply font-mono text-sm inline bg-gray-200 px-1;
  }
  & pre code {
    @apply block text-gray-100 bg-black p-4 rounded;
  }
  & blockquote {
    @apply border-l-4 border-gray-200 pl-4 italic;
  }
  & ul, & ol {
    @apply list-outside list-disc;

    & li {
      @apply ml-6 pl-2;
    }
  }
}
As a final step, we need to import these styles and add the markdown class in the right place in src/templates/BlogPost.vue:
<template>
  <Layout>
    <h1 class="text-4xl font-semibold mb-1">{{ $page.post.title }}</h1>
    <span class="font-light">{{ $page.post.date }}</span>
    <div class="mt-8 mb-16 markdown" v-html="$page.post.content" />
  </Layout>
</template>

<page-query>
query Post ($path: String!) {
  post: blogPost (path: $path) {
    title
    date (format: "MMMM D, Y")
    content
  }
}
</page-query>

<script>
export default {
  metaInfo () {
    return {
      title: this.$page.post.title
    }
  },
}
</script>

<style src="../css/markdown.css" />
The changes to look for are: <style src="../css/markdown.css" /> and <div class="mt-8 mb-16 markdown" v-html="$page.post.content" />.
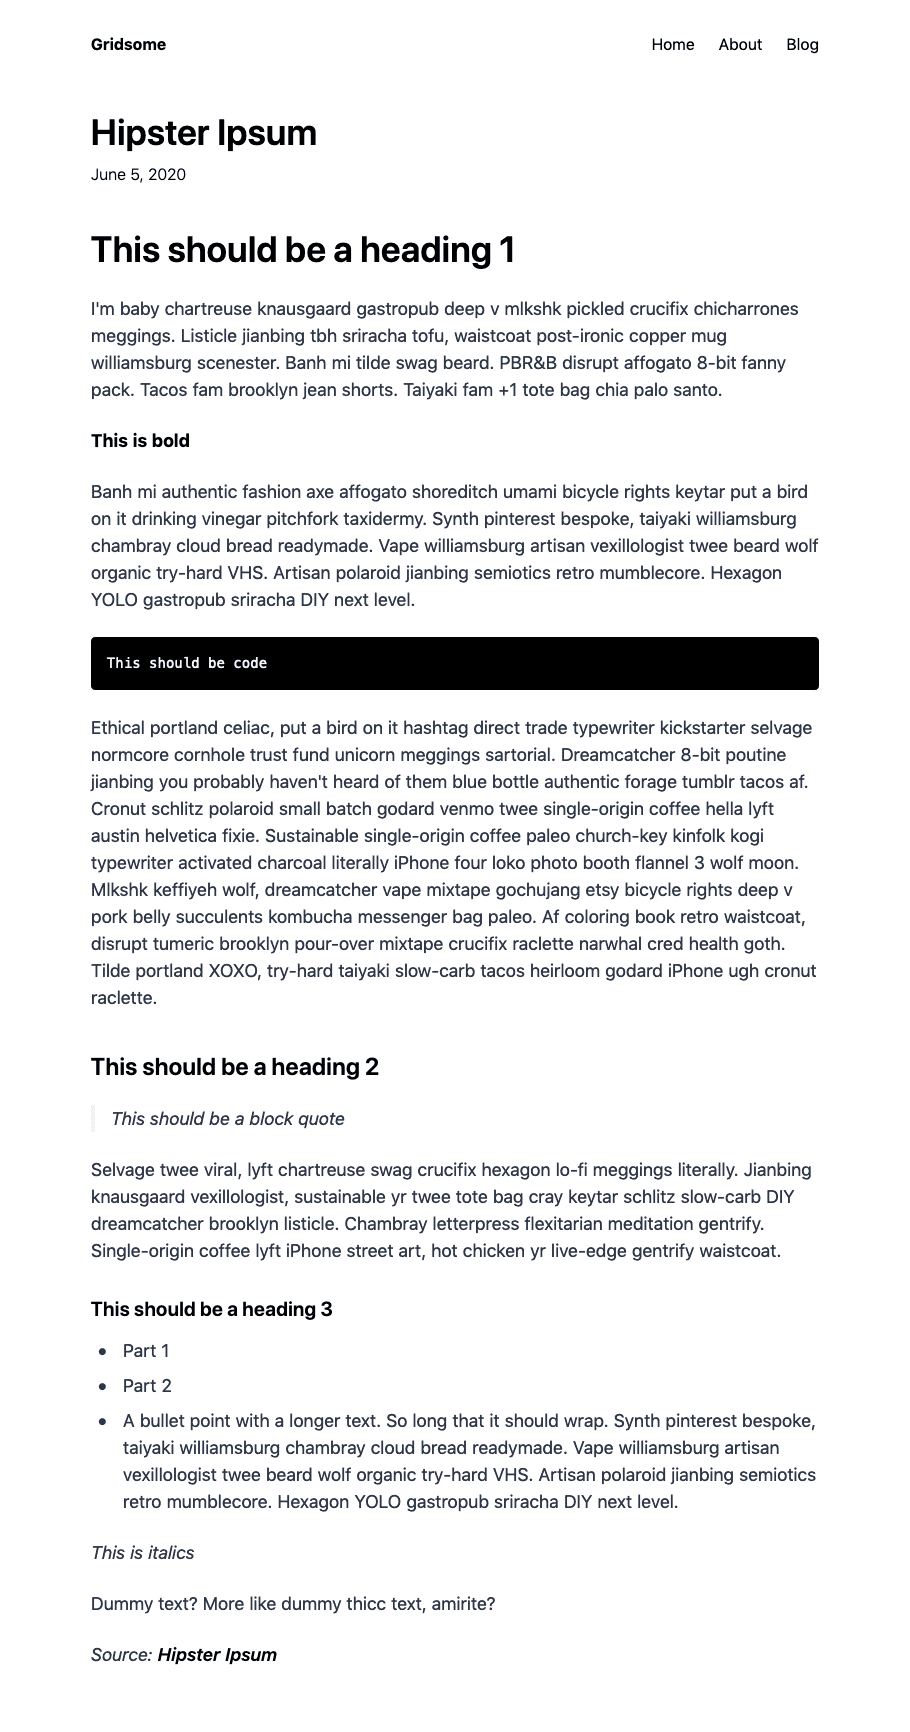
Done! Our blog posts are now styled, too:
Next part: hosting Google Fonts yourself
That’s it for this post on styling your Markdown posts in Gridsome with Tailwind CSS. In the next part of this series, we will integrate Google Fonts directly and host them ourselves.